If you’re using Contact Form 7 on your WordPress site for the contact form, you may have come across an annoying little problem when you add checkboxes or radio buttons and they all appear one after another on one line. Unfortunately there isn’t currently an easy or quick fix for this as the best solution I’ve found is to add a line of CSS within the site. Before you start editing your theme files directly, look for an option in your WordPress installation that allows you to add ‘additional CSS’.
Most importantly, before you start, make sure you have a full backup of your site. Seven Creative website hosting customers get in touch as you should have our ongoing 6-hourly, 7-day rolling backups to keep your site secure and protected.
Using the ‘additional CSS’ option
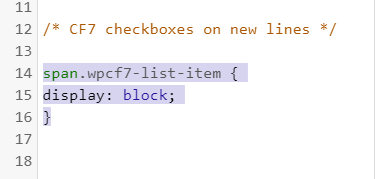
If you have the option to add additional CSS to your theme, add the following and update:
span.wpcf7-list-item {
display: block;
}
Update your sites CSS directly
I wouldn’t recommend updating the CSS within the Contact Form 7 plugin directly as it may be overwritten the next time the plugin updates. This also applies to your website parent theme. If you’re using a child theme, you can update the CSS in the theme file, normally found here:
> wp-content > themes > *your child theme* > styles.css
And add the following:
span.wpcf7-list-item {
display: block;
}
Include the CSS in the header of the site
You can also add the CSS code directly into the header of the site – one way is by using a simple plugin like ‘Insert headers and Footers‘ by WPBeginner. Add the following:
<style type="text/css">
span.wpcf7-list-item {
display: block;
}
</style>
Need help?
We provide the full range of WordPress website support and WordPress website development services. Get in touch for more information on 0114 383 0711 or visit our contact section of the site